 |
| Basket liners galore and an orphan |
I often find that I have a superfluity of fat quarters in my stash, as it is all too tempting to buy a little piece of a particularly nice fabric, and then find that it is rather small to do anything with, and the leftovers from dressmaking also tend to be little more than fat quarter size.
So what to do with those little bits of fabric: you could try this pattern and make a nice little bag like I did here, or you could try this pattern which is great fun (I was lucky to be in on the testing, and will show you the results another time), or you could buy this book which is all the rage in Blogland (yes, I admit it, I have succumbed and am already planning to be virtuous and use up my stash, of course, and there will be no special fabric purchases (well, not many, anyway)).

Or you could be thrift personified and make my handy-dandy basket liner and use up one of those fat quarters lurking guiltily in your stash. It's a nifty way of turning a square into a circle, and a very simple way to line baskets of all shapes without going to the trouble of paper patterns and stitching curves.

First take your basket - mine was a pretty standard bread basket approximately 34in/86cm in diameter, and 8in/20cm high (9in/23cm if you allow for the overlap), as you see in the picture. It doesn't matter if it is a bit smaller as the effect will just be more gathered.

Cut the fat quarter in half, crossways, at right angles to the selvedge. This gives you two rectangles approximately 9in/23cm high and 22in/56cm across.

Put the two pieces of fabric right sides together and stitch 1/2in/1cm seams along the short edges, which will make a tube ....

... which will look like this.

Pink the seams to avoid fraying ... and the top and bottom raw edges.

Iron the side seams open.

Fold the top and bottom raw edges over 1/2in/1cm and iron down.

Create a casing by stitching all the way round close to the raw edge, leaving a small gap of around 1in/2.5cm between starting and finishing, so that you can insert elastic or ribbon for gathering.

For a permanent gather you can use elastic, but this makes the gather permanent, and the liner not so easy to iron if you wash it.

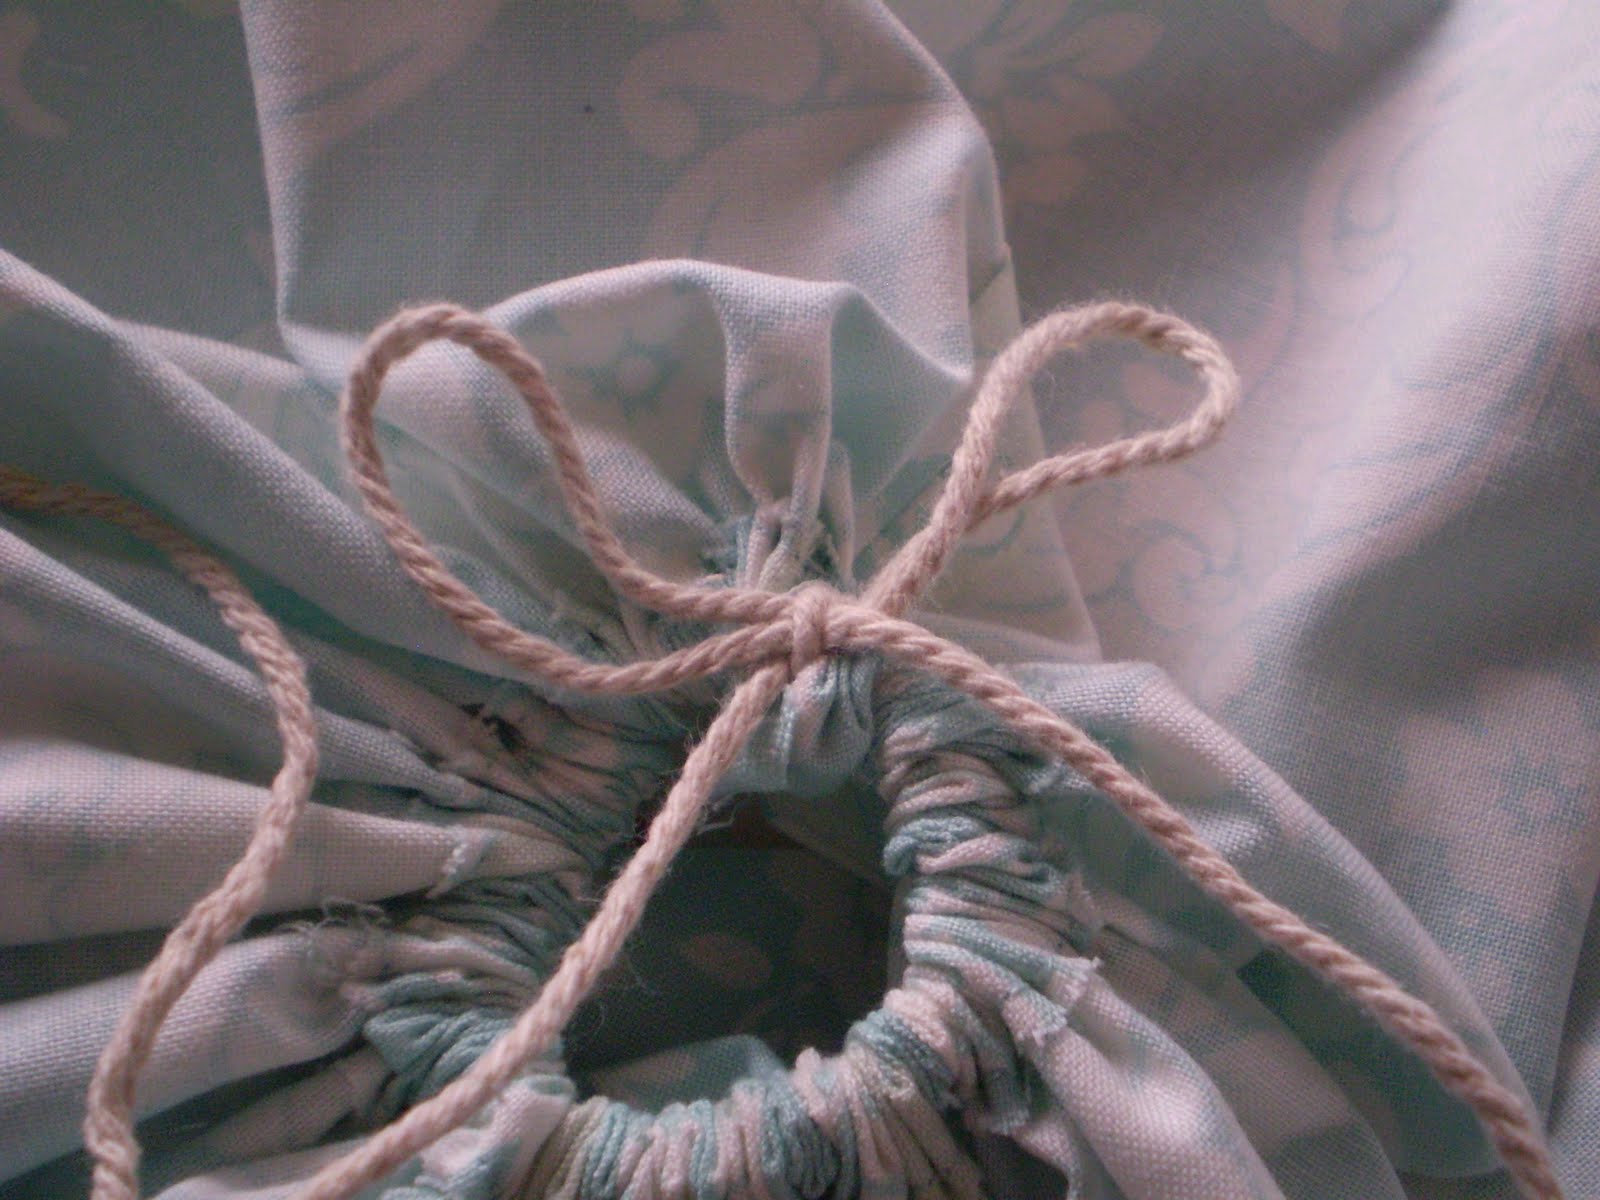
To get round this I just use string in the bottom casing - thread it through, pull tight ...

and tie in a bow underneath ...
... and a pretty ribbon in the top casing. These can be removed for washing and ironing.

So there you are - half an hour's fun and prettification of a boring basket.
 |
| Squared the circle |
I, of course, am machine-less, and can only dream of such things, but I have found solace in sock knitting for an orphan.
 |
| Lonely orphan and friend in the making |
Have a good weekend - and come back for my giveaway early next week: six, yes, six prizes to be won!
16 comments:
thankyou for that little tutorial...I really enjoyed looking at something that I could ACTUALLY be doing if I was good and virtous, and it was simple enough and clearly explained enough even for a clutz like me to be able to do!
I'll let you into a secret- well it's not a secret now and if I tell someone then I really DO have to do it (and finish it)- I'm just about to begin knitting.
I haven't knitted for nigh on 20 years (Ted says he's never seen me knit and we've been married for that long so that's how I know) but I was looking through my stash of vintage patterns and found a really cute 50s garter stitch pattern, and remembering your previous note about BIG shoulders on vintage cardis, I think a waistcoat will fit just fine.
Wish me luck!
xx
Lovely little basket lining but think it would take me all day rather than the short amount of time you suggest!
I'm with you completely on the fq front, I bought the whole range of Amy Butler Belle when it came out and still have most of it uncut, but with all those baskets sat in the charity shop I might just give this a try. Thanks for sharing.
I just succombed to the Farmer's Wife book too! I went for the Kindle version, which is a first. I plan to use my scrap bin as much as possible (it is overflowing!) Are you going to play along?
I think it's possible I'll be in your position fairly soon, my poor machine is making some rather alarming clonking sounds and I should really pre-empt breakdown by sending it for an MOT and pick up the knitting needles instead.
Hope you're enjoying the sunshine x
That's a great tutorial! Thanks for mentioning my new pattern...you are so sweet! I have been pondering the purchase of that book as well. It looks like it is backordered 2-3 weeks here.
This is a great tutorial. I really like the fact that the liner is 2 layers thick. (Now I just need a few hundred baskets to line - my fabric scrap collection is shamefully large.) :)
Thank you for the tutorial. I for one will be using it. Lots of material to use up, problem is might have to buy some more baskets? :)
Good use of a fat quarter and a weekend, I think. I was lining baskets this week as well, but not as prettily and delicately done!
You are a whizz with the machine!
This may be a quick and easy project for you but this non sewing person is impressed!
Lisa x
Hello Pomona, what a lovely little how to...thank you. I have just made some little wheaties using vintage sheets bits. Perfect fabric for just such a project. Your sewing machines demise rather prompts me to attend to the intermittent dodgy behaviour of my presser foot. I would hate it to clap out on me altogether. Much love Catherine
That is actually going to be very useful! I was at woolfest this weekend and sucummed to a huge basket that I am going to used for laundry...I was already going to line it but your instructions I am sure will be useful.
Love the basket lining,
Victoria xx
Lovely basket liner! :)
Thanks for these ideas! I'm one of those that buys fat quarters knowing full well I actually don't have any idea as to what to do with them!
Hey, just wanted to let you know I've featured your link today on SewHappyGeek's Feature Friday! Go get a button :)
Post a Comment